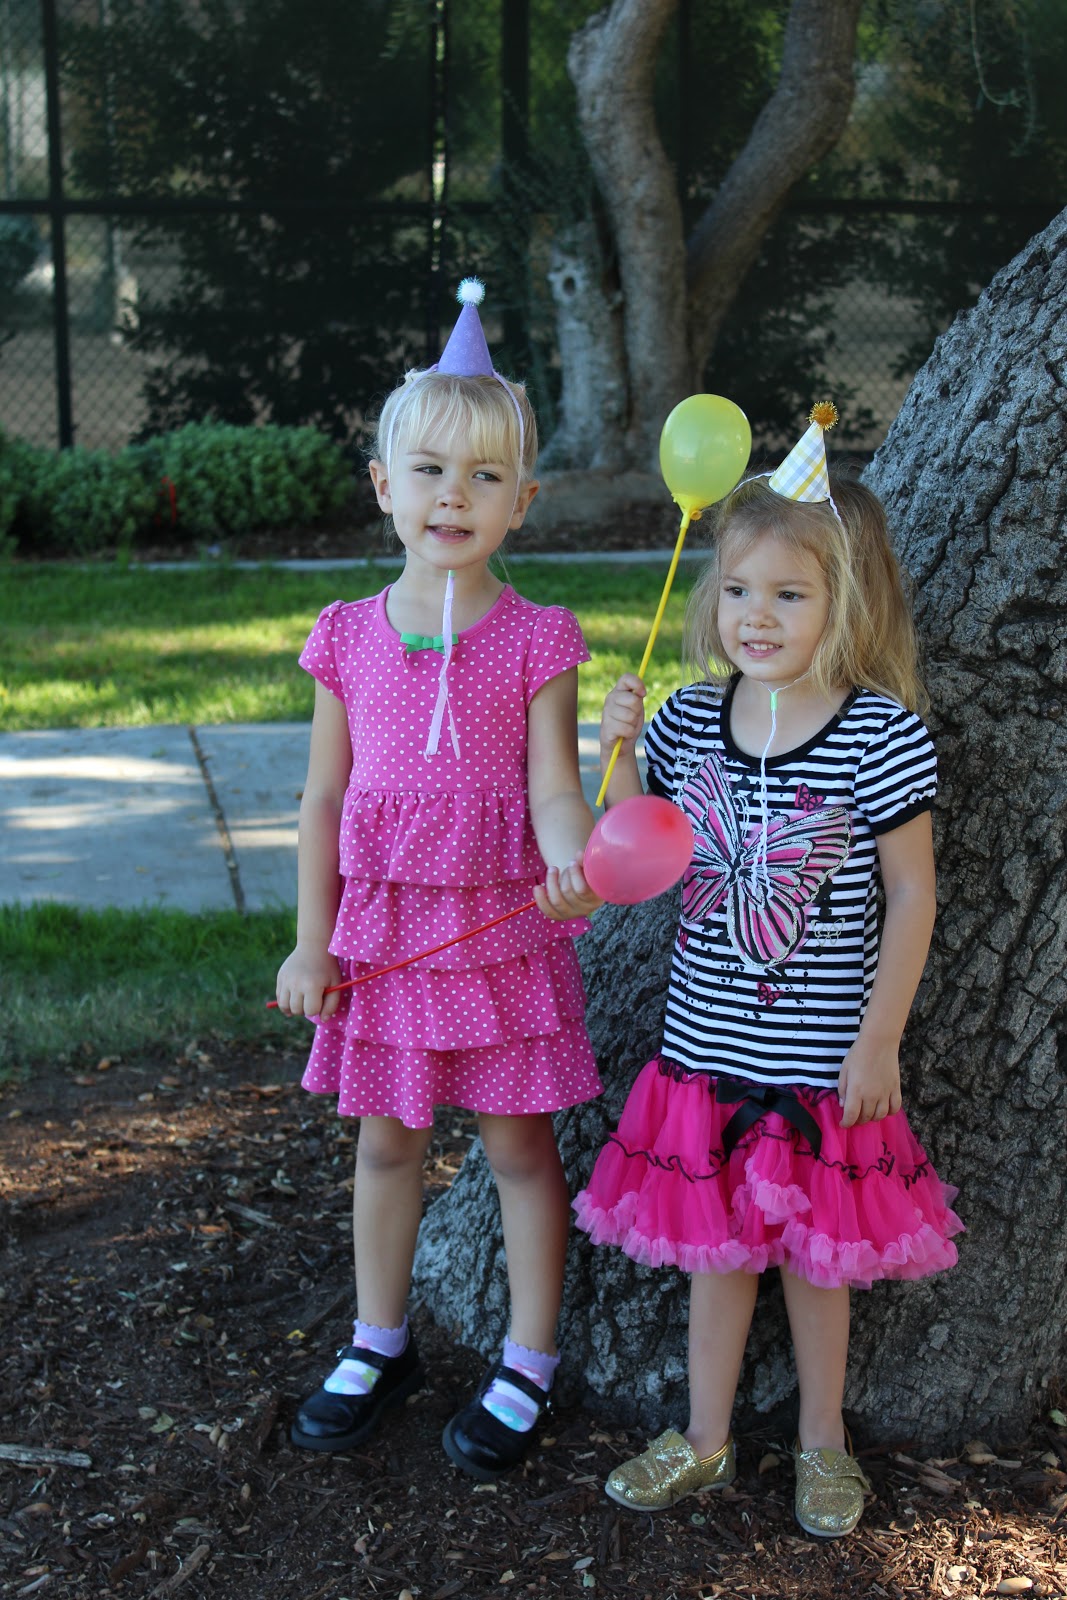
(By the way, the invitation mentions an indoor playground... unfortunately, we had to cancel that party due to all 5 of us getting sick that weekend! Luckily, the weather was perfect the following weekend for a birthday do-over at the park.)
Showing posts with label Claudia. Show all posts
Thursday, November 8, 2012
Getting back into crafting!
(By the way, the invitation mentions an indoor playground... unfortunately, we had to cancel that party due to all 5 of us getting sick that weekend! Luckily, the weather was perfect the following weekend for a birthday do-over at the park.)
Tuesday, November 15, 2011
Claudia's October Result
I was so excited when I saw what Theresa sent as her October challenge. The papers were beautiful, I loved the quote, and having pages from the book was so cool. If you can't tell from my layout, I wanted to use every bit (I hope I didn't overdo it). I ran out of room for journaling... if anyone has any suggestions on how to fit it in, I'd really appreciate it. (I included what I had hoped to journal below the pictures, just to explain the layout.)
June 27, 2011 Mia loved playing with her tea set, and I was so eager to invite some of her friends over for a tea party. I wanted to include Gavin and his best friend, so I didn't want it to be too girly (as tea parties tend to be). The best solution I found: a Mad Hatter's Tea Party. Zachary, Mackenzie, Sofia, Franklin, Jenna, and Nora joined us for a fun afternoon. We decorated big hats made out of paper bags, put together foam teapot picture frames, and ate a lunch of tea sandwiches, fruit, cheese, pink lemonade... and tea, of course. Minutes after our friends left, Mia crashed on the couch. Hosting a tea party is hard work.
Monday, September 26, 2011
Claudia's September Results
It's been too long! I had a lot of fun with Rachel's challenge. I got Marieke, who sent in pictures and journaling of both of Lily's grandfathers meeting her. The pictures were so sweet... it's amazing how a baby can make grown men melt! You can just see in their faces how in love with Lily they are.
Marieke suggested a title with the word 'grand' in it, which I fully intended to follow, but I found an adorable title from My Mind's Eye Lost and Found Two line that I could not pass up: "This is what love looks like." Marieke's journaling went along with that theme perfectly... it was just meant to be. Marieke, I hope you like the layout.
P.S. I am so happy I actually finished something!
Thursday, February 10, 2011
Finished a project. Yay!
Umm... so I feel weird posting after Marieke's big charm unveiling. Kind of like singing karaoke at a bar after a top American Idol contestant (who hasn't had two margaritas) just had their turn. But my excitement is overriding my feelings of inferiority. While trying to pack for CU I came across my unfinished Halloween album. I only had one year left to do of the Halloween pictures I had, and I just wrapped it up! I don't think I've ever finished an album before, and I am pretty happy with it. Here are 4 more layouts, and three of them have at least one element from Marieke's original October kit. 2003 was the year Shaughn and I got married (we were on our honeymoon over Halloween), 2004 and 2005 were just the two of us being silly, and 2010 was a craziest year yet (as evidenced by a hectic and crowded layout... I need to work on my editing).


Thursday, January 20, 2011
Claudia's January Results
I have to give full credit for my layout theme to Shaughn, who helped me tremendously because I was stuck with way too many Beatles song titles swimming in my head. It was also just a few weeks ago that Gavin came to me completely covered in marker, which was the first picture we both thought of. After that, it was pretty easy finding other pictures of Gavin and Mia in troublesome situations. I used my Cricut for the title (Alphalicious font), and Word's Juice ITC font for the lyrics, which had a similar look. The ribbon is stapled on in tangles with Color Staples, a technique I saw in a YouTube card-making tutorial video (I don't remember which one, it was a while ago). And I just sketched and cut out the yellow starred paper by hand.
As for the second project, the one song title I really wanted to use was "All You Need is Love", but couldn't figure out a layout I could pull together with the pictures I have. Then, a few days ago, I found a cute little stamp at Michaels with just those words, and I took it as a sign. I made this card for my parents' anniversary next month.
I don't know why the picture of the front of the card turned out so "fisheye", but it is a rectangular card, and the yarn goes straight across. I was thinking about making more copies of this card for the cardswap at CU (someone mentioned it on the Facebook group)... What do you guys think? I have no experience with that sort of thing, so I don't know if this card is appropriate or worthy of swapping. Your input is much appreciated, as always. :)
Saturday, January 1, 2011
Claudia's December Results
I intend to make a scrapbook layout with the beautiful December pages and embellishments that Marieke put in this kit, but for now, I made a few Christmas-y 'thank you' cards. Since I am always procrastinating, I waited too long to buy seasonal 'thank you' notes and couldn't find any the past few days. So I thought I'd make my own. I went a little cookie-cutter, using just one layout for the 4 cards, and on top of that, I scraplifted this from a Scrapbooks etc. email newsletter from a few years ago. (I've used this idea for birthdays, Mother's Day, and just about any short sentiment you can think to fit in the little message box on the card.) You can think of this post in one of two ways: an admission to how unoriginal I am at times, or my sharing a favorite "recipe" with you. Please be kind. I did add one piece of ribbon that wasn't in the kit (the fat red ribbon) that I had left over from last Christmas, just because I felt the little tag needed another width.

Luckily, these cards don't take very much in the way of supplies, so I still have the majority of the December kit to play around with. But for now, I will consider myself caught up and ready to move on to ORMV 2011. Happy New Year!
Thursday, November 11, 2010
Claudia's November Results
I apologize for posting so late, but I am slowly catching up. I think I burned out on my marathon October pages, and combined with 4 trips up to the Bay Area in 2 months, plus the holidays in general, I had to take a scrapbooking vacation. And now I am back to it... Here is a 2-page 12x12 layout using November's supplies. I have to say, I loved the colors and prints in this kit. I was a little afraid to start a project with the kit; there was so much potential for beautiful work (as proven by the previous posts), I didn't want to fall short. As for this layout, it is a little unfinished. I plan on journaling, or at the very least dating the pictures, in the lower half of the pages, but I'm not sure how I'll do that yet. I used gold acrylic paint with the stencil to make the background. I was not patient and did not follow Marieke's sage advice on how to use the stencil, but I have convinced myself the the blurred edges were intentional. I made the title in MS Word, with clipart I downloaded from their website. My favorite little detail does not stand out in the overall shots of the pages, so I included a close-up of the french knots I learned to make with the embroidery string, that I put below the lavendar brads. The paper tore a bit (not too obvious on the pages themselves, but definitely noticeable in the close-up), so I will have to practice and research the technique. Since I don't have a sewing machine, I think I'll try incorporating embroidery in my pages... Who knows, it might turn into a new hobby.


Saturday, October 9, 2010
Claudia's October Results
I *loved* this kit. I have wanted to make a Halloween album, and I took the kit as a sign from above (or up north) to get started. Thank you, Marieke! The album is 8x8, and I was able to make 1 single page layout and 4 double page layouts. (Yes, I went a little crazy.) I used the minitags to label the year, one layout per holiday.
2001: I hid the journaling; the second picture shows the page with the flap open. This was the first time I've used clear stamps, which I really liked. I don't do a lot of stamping, but I can definitely see myself getting into it.


2006: I used the yellow cardstock in to kit to "light up" the felt jack-o'lanterns.

2007 - I used the clear stamps to make the spider border. And I really loved the spiderweb punched border! I used every last bit.

2008: The right side didn't turn out how I had hoped. I know I kept the green cape I made for Gavin, but I can't find it. I had hoped to use some of the fabric on the layout. (Shaughn suggested making a mini-cape as an embellishment, which I thought was adorable... I knew he had the makings of a scrapper!)

2009: Here's the rest of the spiderweb border!

Thank you again, Marieke! Your kit really inspired me.
2001: I hid the journaling; the second picture shows the page with the flap open. This was the first time I've used clear stamps, which I really liked. I don't do a lot of stamping, but I can definitely see myself getting into it.


2006: I used the yellow cardstock in to kit to "light up" the felt jack-o'lanterns.

2007 - I used the clear stamps to make the spider border. And I really loved the spiderweb punched border! I used every last bit.

2008: The right side didn't turn out how I had hoped. I know I kept the green cape I made for Gavin, but I can't find it. I had hoped to use some of the fabric on the layout. (Shaughn suggested making a mini-cape as an embellishment, which I thought was adorable... I knew he had the makings of a scrapper!)

2009: Here's the rest of the spiderweb border!

Thank you again, Marieke! Your kit really inspired me.
Saturday, September 11, 2010
Claudia's September Results
I absolutely loved this month's kit! Marieke, thank you so much. The colors, patterns, and details you assembled worked together beautifully, and were so much fun to create with. I completed 4 pages, 2 2-12x12 page layouts: Gavin's first day of preschool and a toddler page of Mia.
First off, for Gavin's page, I used the puzzle pieces and the chipboard brackets and bar to make the title. I have been trying to find different ways to frame pictures instead of my usual matting, so I used the embossed paper to create a right-hand border.


First off, for Gavin's page, I used the puzzle pieces and the chipboard brackets and bar to make the title. I have been trying to find different ways to frame pictures instead of my usual matting, so I used the embossed paper to create a right-hand border.


Secondly, I continued with the non-matting and was inspired by an article in "Creating Keepsakes" about layouts using 10 pictures. I attempted to frame a picture of Mia on the title page using ribbon and brads, and on the facing page using knotted ribbon as photo corners. I wanted to include some of Mia's pronunciations of words but without writing out a list, so I wrote them on yellow strips within the blue border. (On a side note, since I made this page a couple of weeks ago, some of these words have changed, so I'm definitely going to date this... she's growing so fast!)
Thursday, August 12, 2010
Claudia's August Results
I enjoyed all of the different patterns and colors in this kit, and I liked the process of choosing what to use together for this 2-page layout. (They are 12x12 pages again, but I plan on experimenting with a different size very soon.) I took advantage of the greens and yellows (with a hint of pink) to do a page about Gavin and Mia as siblings. I used the flowers to back the alphabet stickers (except on "big bro" where I cut circles out of the green dotted paper... a little more masculine). I used up both "I" stickers, so I used an exclamation point... I'm glad that was on there! And I thought the cuddle paper ribbon went perfectly with the pictures of Gavin cuddling with Mia. This was a lot of fun to put together!


I was inspired by Theresa's technique of enlarging a paper accent last month, hence the big brother giraffe. I scanned and enlarged the giraffe on a blank page, then cut it out and traced it on orange spotted paper Rachel included in the kit. I drew on the eyes and mouth, and colored in the ears and hooves. I found the Little Sister poem online (which fits Gavin & Mia's relationship very well, although I think he causes her more strife!) and printed it on the craft paper. I'm posting close-ups of those two features.
Thursday, July 8, 2010
Claudia's July Results
Aak! I'm nervous about posting for the first time. Thank you again for allowing me to join the club, it makes me so happy! Well, here it goes...

P.S. I'd appreciate any tips you may have on photographing layouts. I haven't done that before, and my pictures either came out crooked or with a glare from the flash off of the photos. And please let me know if I missed any of the club's guidelines... I'm trying!
I loved this kit, and feel bad that I've only completed one 2-page layout. I have so much left to work with, and I am planning on one more project; for now, I'll post what I have completed so far. I loved the travel theme, but had some trouble figuring out what pictures to work with. So I am holding off on the tropical/international travel idea, and went with something closer to home.... visiting my brother and his wife, who live just outside of Tucson. I was inspired by the antique prints and embellishments (and a bit by my husband's new video game "Red Dead Redemption"). And I got a huge kick out of printing the pictures in sepia. I loved the browns and reds in the papers Rachel included in the kit, and I just added cream-colored paper for the titles and matting. By the way, I'd like to thank Rachel for teaching me how to ink paper edges... I did that a lot in this layout.
Saturday, May 1, 2010
Welcome, Claudia!!!
We are adding a new member to our club! Yay!
I just received an email letting me know Rachel has pretty much convinced her friend Claudia to join in the fun. I'm very excited as I think this club works best when we can see more results. I can't wait to see what she comes up with.
Look for her contributions starting in July.
I just received an email letting me know Rachel has pretty much convinced her friend Claudia to join in the fun. I'm very excited as I think this club works best when we can see more results. I can't wait to see what she comes up with.
Look for her contributions starting in July.
Subscribe to:
Posts (Atom)